5 Easy Steps To Make Yourself A Cup Turner For Cheap
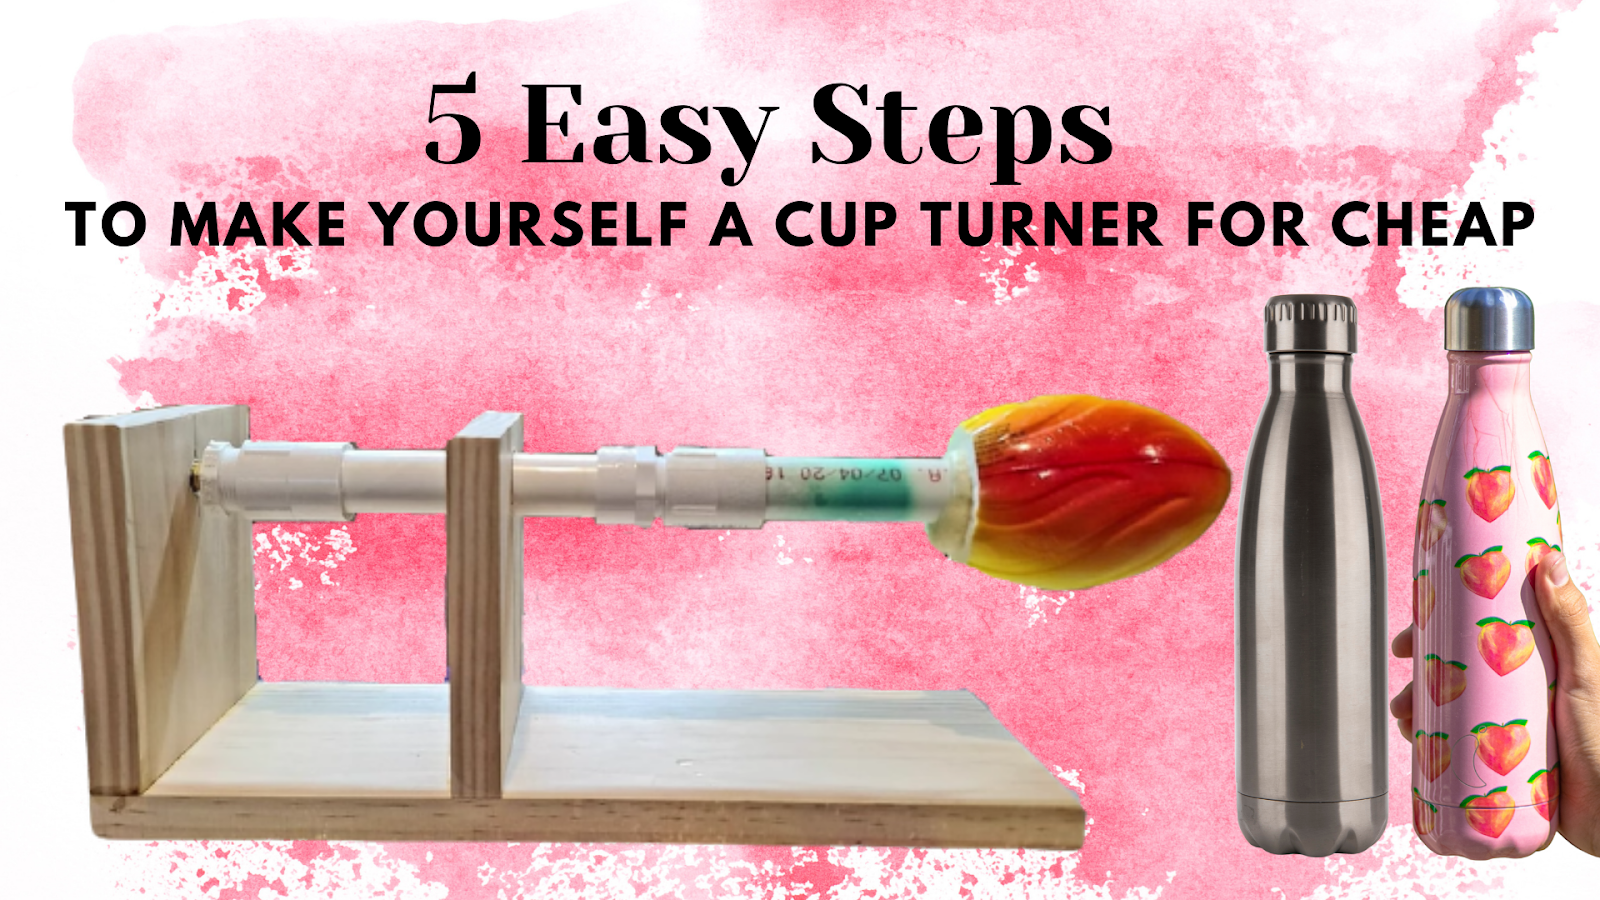
Wondering how to make those enticing DIY tumblers that you’d be proud of? Well, you only need a few materials to make yourself a cup turner for cheap. You can even transform this hobby into a profitable business for company giveaways and other customizable gifts.
Even if you are not an avid crafter, you can easily make yourself a cup turner for cheap with some scraps around your house. Just gather the scrap materials before buying what you need. Prepare the base, set up the motor, and then assemble the wand and the cup turner.
Here is the complete tutorial on how to make a DIY cup turner for a more thorough explanation. We also included some common issues you might encounter with commercial cup turners and how to resolve them.
How Do You Make a Cheap DIY Cup Turner?
What You’ll Need
- 1 piece of 1x6x15” wood
- 1 piece of 1x6x10” wood
- 6” C-clamp
- Wood glue
- Loctite
- Synchronous Motor
- Lamp cord with switch
- 1 piece 7mm motor coupling
- ½ length ¾” PVC pipe
- 1 piece ¾” PVC plug
- 2 pieces ¾” male adapter PVC pipe
- 2 pieces ¾” female adapter PVC pipe
- PVC glue
- Foam football
- Superglue
- Screw-on wire connectors
- Wood screws, assorted
Step-by-Step Instructions
1. Prepare the base

- Cut a 1x6x10 inch into two. These pieces of wood serve as the stand for the turner.
- Drill a 3/4-inch hole about 1 inch from the top.
- Clamp the two parts together to center the smaller hole for your motor.
- Unclamp them and sand to clean off the parts.
- Measure 6 inches from one end of the 1x6x15” board.
- Mark off the points where the nails should go.
- Put the base and stands together by adding a thin line of wood glue. The one with the smaller hole should go at the back.
- Clamp it down, then nail the board and stand.
2. Set up the motor

- Twist the pigtail ends of the motor and the lamp cord together securely.
- Cover the ends with screw-on connectors.
- Stick the motor into the stand at the back, the one with the smaller hole on it.
3. Assemble the PVC wand
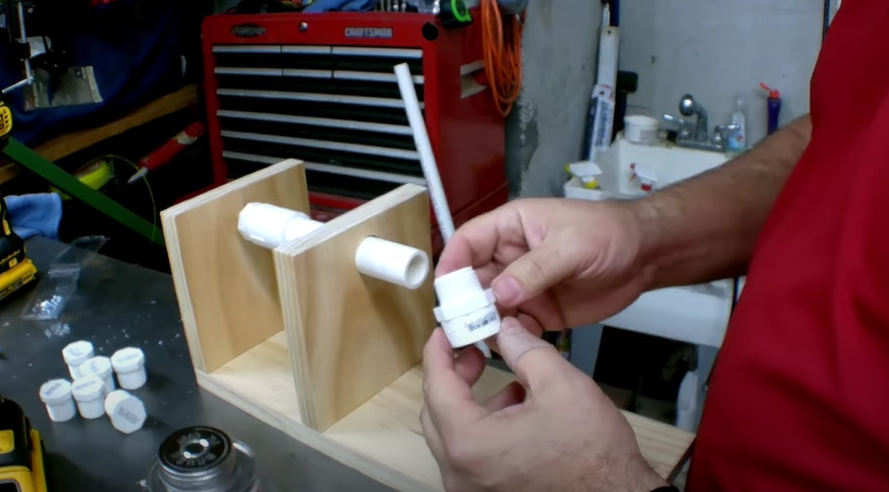
- Drill a small hole in the center of the PVC plug to connect it to the motor using a hexagon motor coupling.
- Add some Loctite thread locker in the coupling thread hole, so the screw doesn’t pop out after some use.
- Attach a female adapter and crew it on tight to the male adapter.
- Cut a 5 ½-inch PVC pipe. Add some PVC glue and screw it on the female PVC adapter.
- Apply some PVC glue and add another male adaptor to the end of the newly-attached PVC pipe.
- Attach another male adapter to it and prepare the other half of the wand.
- Cut a 6-inch PVC pipe. This part is the removable wand where the foam football will be attached later.
4. Prepare the foam football

- Slice off the tip of the ball using a pocket knife.
- Bore a hole into it using a ¾-inch hole saw. Remove the cut-off part.
- Wet the inside of the foam football and add some super glue. Stick on the 6-inch PVC pipe to it. Let dry.
- Follow the same procedure to make additional foam footballs for your other cup sizes.
5. Assemble the cup turner

- Add a new female adapter to the removable wand by adding some PVC glue. Make sure the glue does not reach the threaded part.
- Attach the wand with the football to the female adapter on the wand on the stand.
- Try your DIY cup turner to ensure its stability.
Commercial Cup Turner Common Issues
Here are some of the most common issues about commercial cup turners and how we addressed them with this DIY cup turner:
-
Wobbly Wand
Wobbly wands mean an uneven epoxy application, and the resulting quality is not presentable. Adding epoxy to your tumblers or cups is time-consuming and challenging work, so you don’t want your tumblers to be less than commercial-grade quality.
We solved this problem by keeping the stands at 10” apart, so the wand is well-supported during the turning process.
-
Cups that Fall During the Turning Process
If the cup falls during the turning process, the cup gets damaged. You either scrape the damaged part off and replace it or let it dry and sand it off. That’s additional work for you.
We solved that by reducing the wobble and using a removable part of the wand. You can use the other half of the wand with the right rubber foam that supports your blank well, so it does not fall off. You can get a pool noodle, foam football, or rubber foam designed for cup turners.
-
Non-Removable Wand
A fixed wand can mean inconvenience and less productivity when working with epoxy resin tumblers. By using a removable wand, secured by pipe connection does the magic.
You can also remove half of the wand that holds the cup and use a drying post to finish the curing process after 12 hours. You can start with a new one instead of waiting to complete the 72-hour curing time.
-
Overheating Motor
Overheating happens after extended hours of continued use of the cup turner, although some motors perform better than others.
For your safety, get a UL or FCC-certified synchronous motor with the speed of choice, but we recommend the 5-6RPM one. Some motor sets even come complete with power cables, PVC connectors, and other hardware.
Conclusion
We enjoyed putting together this DIY cup turner tutorial because we understand that some commercially-available cup turners do not have the quality we need. Some of them have too loud motors, an unstable base, or too flimsy to our liking.
And what better way to make yourself a cup turner for cheap than with a complete guide? However, if you don’t feel like you have the energy to build one, you can always check the best cup turner and multi-cup turner reviews.
Have you ever considered making a DIY cup turner? What’s holding you back? Let us know in the comments.
Thank you for sharing. I’m going try this. God Bless